Vehicle preparation: 5 things to check before you touch the film
Following on from previous months, we’ve pulled together a few practical installation tips from our Tech Bros, Kam and Luke.
This month, the focus is on vehicle preparation.
It’s easy to underestimate the importance of vehicle preparation, but as most of you will already know, it has a direct effect on finish, adhesion and long-term performance. No matter how skilled the application technique, poor prep will eventually surface as trapped contamination, fisheyes, or premature lifting at the edges.
A film can only perform properly if the surface beneath it has been cleaned, checked and prepared correctly.
Here are five things worth paying attention to before the film goes on.
1. Start with decontamination, not just a wash
A standard wash removes loose dirt, but it won’t touch what’s bonded to the clear coat.
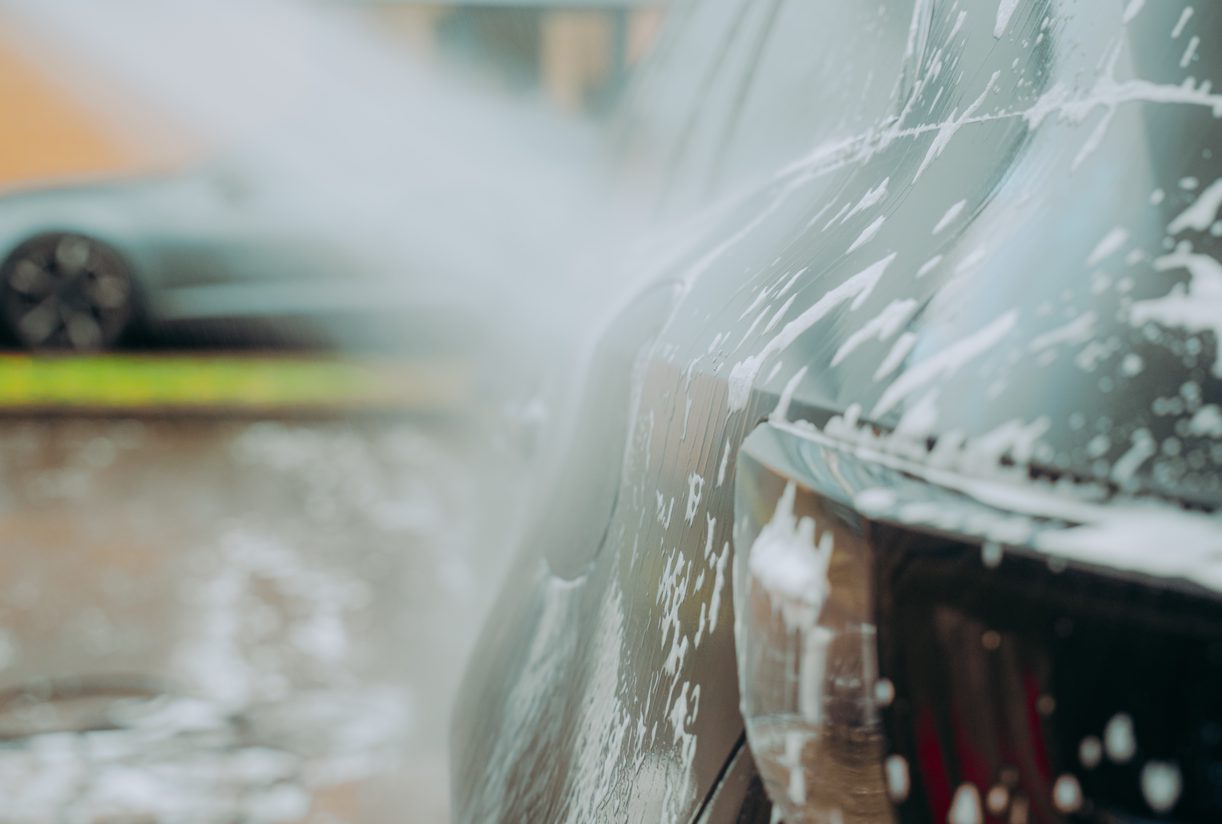
Make sure you follow your usual cleaning steps with a pH neutral shampoo, but also take care to hit on these key points:
Air dry the vehicle – particularly good for removing hard water from the panels and going that extra mile to ensure no fine dust particles are trapped between gaps and rubbers.
Tar and glue remover – headily baked tarmac that sits on the lower half of the vehicle.
Iron fallout decontamination – microscopic debris that is embedded into the paintwork.
Clay bar (or clay mitt for efficiency on larger panels) – lifts remaining bonded contaminants that chemical decontamination alone won’t shift.
2. Inspect properly before you commit
Once the surface is clean, inspect the panels under strong, angled LED lighting.
This is the point where swirl marks, stone chips, previous repair work, touch-up paint, overspray or surface defects become easier to see. Also check for ceramic coatings.
If there is existing damage or poor paint condition, it should be flagged and agreed with the customer upfront. Once the film is applied, it is too late – issues may be locked in or become more noticeable, which can lead to difficult conversations later.
A few minutes spent inspecting and documenting the vehicle will protect both the installer and the customer.
3. Correct where it makes sense
Not every vehicle needs polishing or paint correction before PPF.
But where the paint condition will affect the finished result, it is worth addressing before application. A light polish or single-stage correction can improve optical clarity, remove minor defects and help create a cleaner surface for the adhesive to bond to.
The important point is to scope this properly.
If correction is needed, explain it to the customer, agree the work and price it before the installation begins. It should not feel like a hidden extra. It is part of preparing the vehicle properly for the result the customer expects.
4. Degrease immediately before application
The final wipe-down is critical, especially around edges and high-risk areas.
Before applying film, clean the panel with pure isopropyl alcohol, paying close attention to edges, seams, mirrors, panel gaps, handles, badges, sensors and returns.
These are the areas where lifting is most likely to start. They are also the areas where polish oils, wax, silicone, dressings or old detailing products can remain even when the main panel looks clean.
Any residue left behind can weaken adhesion.
A proper final degrease gives the adhesive the best possible surface to bond to and reduces the risk of edge failure later.
PRO TIP: in addition to polishing, make sure you polish the edges with a fine compound. Ceramic coating application can be messy and that coating makes it onto hidden edges most of the time. The polish will give you that extra confidence with edge sealing.
5. Control the working environment
Preparation is not only about the vehicle. The installation bay matters too.
Dust, poor lighting, unstable temperature and uncontrolled airflow can all affect the quality of the installation. The tiniest airborne particulate can become visible under the film. A cold or damp panel can affect handling and adhesion. Poor lighting can hide defects until it is too late.
For a complete overview of the ideal working environment, check last month’s OTB.
Final thought
Good preparation does not always get noticed when the job goes well, but it is often the reason the job goes well.
A PPF installation may be judged on how it looks when the vehicle leaves the bay, but the real test is how it performs over time. And the key to this success very much lies in how well the vehicle’s surface is prepared prior to PPF fitment.
If you have a specific question about vehicle preparation for PPF installation, contact Profilm’s Technical Team.
Profilm. Engineered to Protect.